Onyx Mac Cleanup Guide
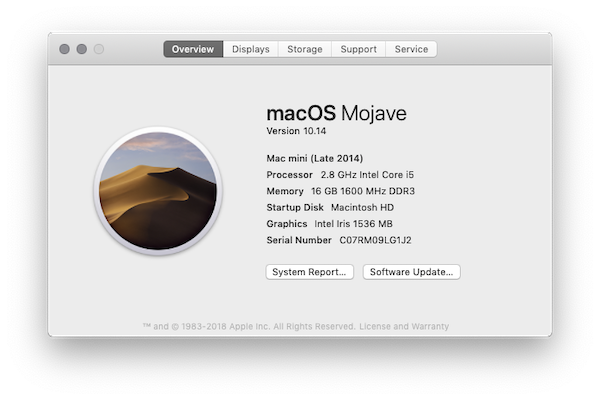
Onyx is free software that allows you to easily clean up and maintain your Mac. They offer a different version for each version of Mac OSX, so make sure that you get the correct one for you. You can find out which version of Mac OSX you have by going to the Apple logo in the upper left corner then clicking on About This Mac.

Once you’ve downloaded the app, look in your Mac’s Downloads folder (typically next to your Mac’s trash can on the desktop’s dock), click on OnyX.dmg and drag/drop each app icon into your Applications folder. When you double-click on the app to open it, you’ll get a security warning. This is to try and dissuade you from installing apps that may harm your computer. In this case we know that Onyx isn’t harmful, so we’ll want to get around this. To do that, click on the Apple logo in the upper left hand corner, then System Preferences. Click on Security and Privacy and unlock the pane by clicking the lock symbol in the lower left corner. Once unlocked, click on the General tab and click on the button that says “Open Anyway”. This will allow you to install Onyx.
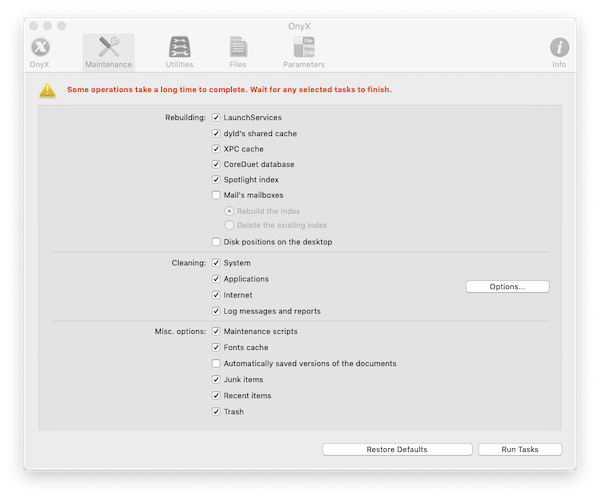
When you first run Onyx, it asks you for your login password. Type that in and hit ok. Then it verifies the structure of your Mac’s startup disk, which is a good practice in general. It will most likely come up with no errors, but it may take a few minutes to finish. Once it finishes, go ahead and click on Maintenance. That’s the only tab we’re concerned with for the purposes of this article.

Most of the default options that are selected are a good idea to run. I usually also check “Spotlight index”. Keep in mind, the scan will take a while to finish, so don’t do this when you’re in the middle of anything important. When you’re ready, click on Run Tasks and wait for it to finish. It will probably ask you to restart when it’s done, go ahead and do that and you’re all done. With any luck, your Mac will be running a little faster afterward.

 ALL BLOGS


